Normal map generator
This web tool is designed to generate Normal Maps, Height Maps, Ambient Occlusion (AO) Maps, and Roughness Maps from standard 2D textures, with real-time interactive 3D preview capabilities.
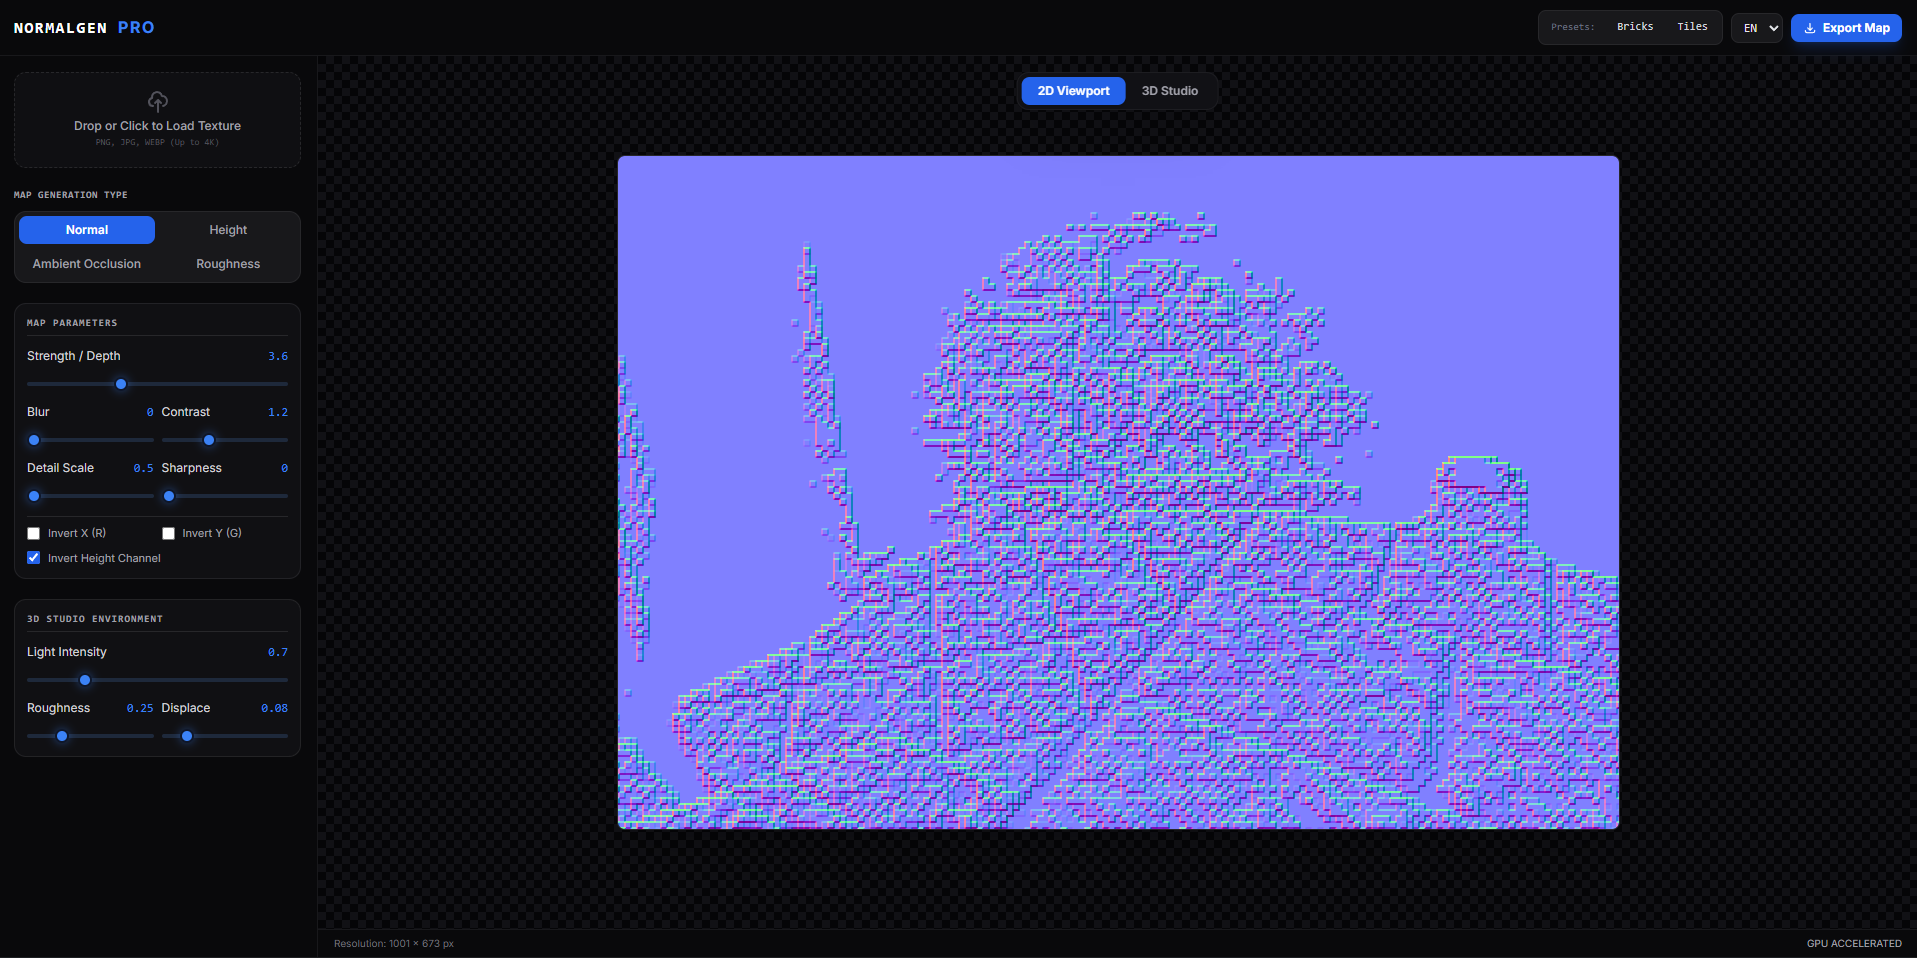
1. Quick Start
- Language Selection: Upon initial launch, select the preferred interface language (available options: EN, RU, ZH) in the modal popup or switch it in the top-right corner of the control panel.
- Texture Loading: Drag and drop a texture file (PNG, JPG, WEBP) into the upload area on the left panel, or click it to select a file manually. Pre-configured presets ("Bricks" / "Tiles") are available in the top panel.
- Map Type Selection: Switch to the required tab (
Normal,Height,AO,Roughness) in the left menu. - Result Preview: Toggle between 2D Viewport mode (flat view of the generated map) and 3D Studio mode (interactive 3D model) at the top of the screen.
- Export: Click the "Export Map" button in the top-right corner to save the generated map as a PNG file.
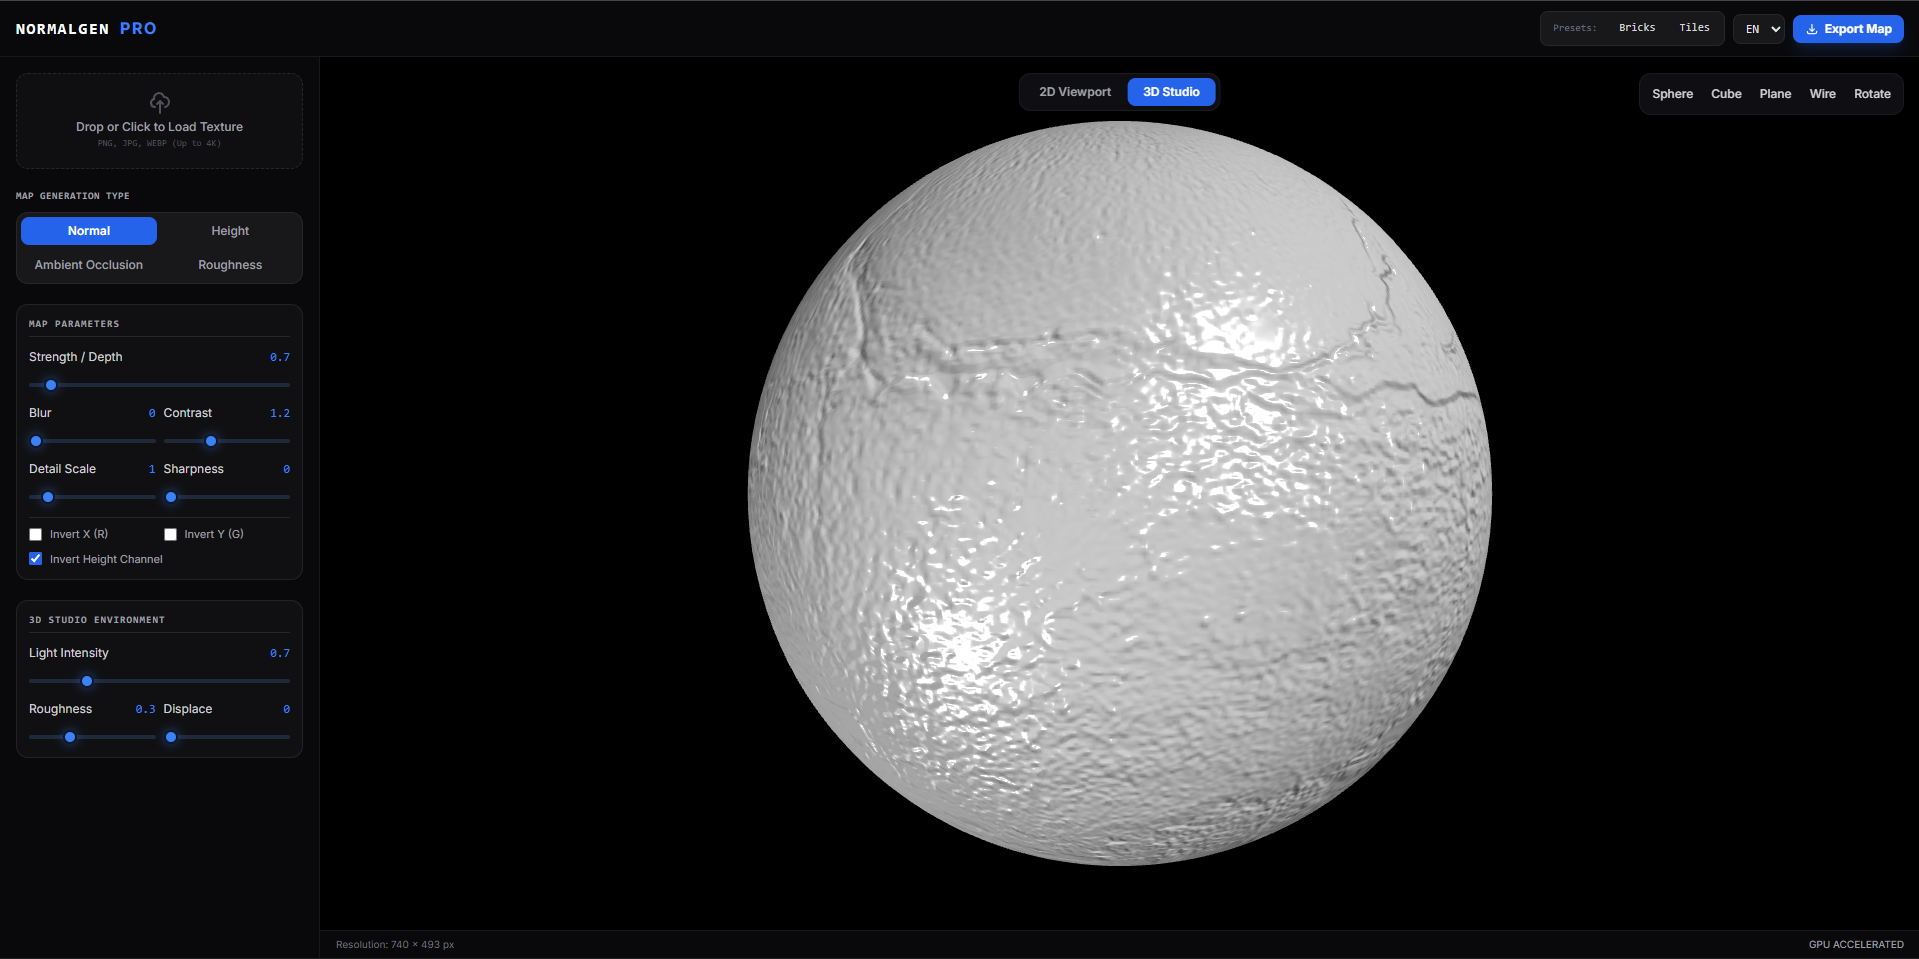
2. Feature Description
2.1. Data Loading and Presets
- User Texture Upload: Supports PNG, JPG, and WEBP formats with resolutions up to 4K.
- Demo Presets:
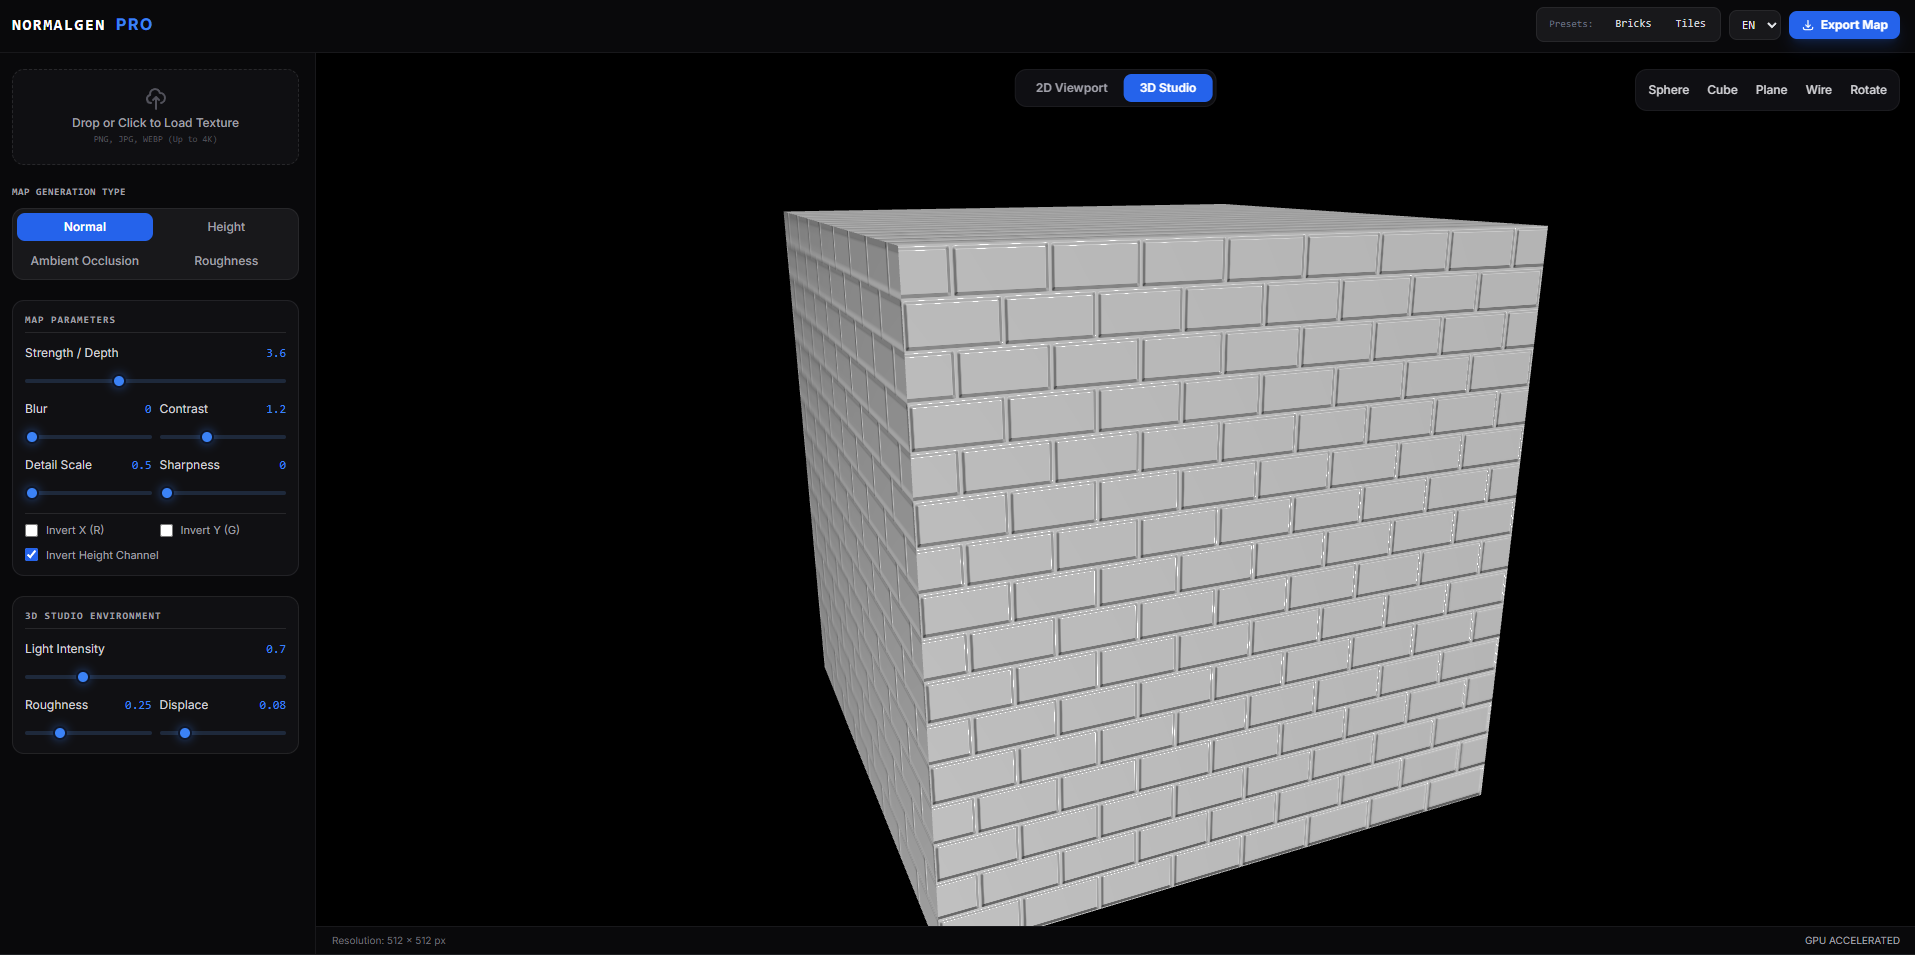
- Bricks: Procedural texture for testing basic surface relief.
- Tiles: Procedural pattern for testing joint geometry and recessed areas.
2.2. Generated Map Types
| Map Type | Description | Primary Purpose |
|---|---|---|
| Normal | Normal map (RGB). Simulates surface relief detail without increasing mesh geometry. | Game engines (Unreal Engine, Unity), 3D editing software (Blender, 3ds Max). |
| Height | Height map (Grayscale). White represents raised areas; black represents indentations. | Displacement / Parallax mapping, terrain creation. |
| AO | Ambient Occlusion. Generates soft contact shadows in joints and crevices. | Enhances shading realism in PBR materials. |
| Roughness | Roughness map. Defines surface glossiness or matte finish. | Controls specular highlights and light diffusion. |
2.3. Map Generation Parameters
- Strength / Depth: Controls relief intensity. Increasing this value enhances the depth of normal vectors and elevation maps.
- Contrast: Adjusts transition sharpness between high and low points.
- Detail Scale: Sets the sampling step size:
- Values 0.5 – 1.0: Capture fine pores, micro-scratches, and surface noise.
- Values 2.0 – 5.0: Smooth out micro-details, emphasizing major shapes and forms.
- Sharpness / Blur: Source data filtering to remove digital noise or emphasize edges.
Channel Inversion Settings:
- Invert X (R): Inverts the red channel. Used to toggle between OpenGL (X+) and DirectX (X-) standards.
- Invert Y (G): Inverts the green channel.
- Invert Height Channel: Inverts the height map (dark areas become raised, light areas become recessed).
2.4. 3D Studio and Interactive Preview
The integrated 3D visualizer allows evaluation of material behavior under dynamic lighting conditions.
Basic Elements Control:
- Object Rotation: Click and drag the left mouse button within the 3D viewport.
- 3D Viewport Toolbar (Top Right Corner):
Sphere: Projects material onto a sphere (default).Cube: Projects material onto a cube.Plane: Projects material onto a flat plane.Wire: Toggles wireframe mesh display.Rotate: Toggles automatic 3D model rotation.
Lighting and Material Settings:
- Light Intensity: Adjusts the brightness of the primary light source.
- Roughness: Base surface roughness of the material in the 3D scene.
- Displace: Physical vertex displacement force when working with height maps (default value: 0.0).
2.5. Exporting Results
Click the "Export Map" button to save the current output. Files are automatically saved using the following naming convention: <map_type>_map.png (e.g., normal_map.png or height_map.png).
3. Usage Guidelines
- DirectX and OpenGL Standard Compatibility: By default, normal maps are generated using the OpenGL standard. When exporting textures for Unreal Engine or 3ds Max, enable the Invert Y (G) setting to ensure correct light direction calculations.
- Creating a Complete PBR Texture Set:
- Load the source color texture.
- Configure and export the
Normalmap. - Switch to
AOmode, adjust contrast, and export the map. - Switch to
Roughnessmode, adjust the gloss/matte balance, and export the map.
- Verifying Height Maps (Displacement): When switching to the
Heightmap type, select thePlaneorSphereprimitive in the 3D studio and gradually increase the Displace slider to evaluate physical mesh deformation.
Development log
- Major Update4 days ago
Comments
Log in with itch.io to leave a comment.
Love the features, works great!
Thanks for your feedback!